


Key Takeaways
- Remove standing water quickly and begin drying affected areas as soon as it is safe to help prevent mold growth.
- Check walls, floors, insulation, and cabinets for hidden moisture that may remain after visible water disappears.
- Use suitable fans and dehumidifiers to dry damp spaces, and verify that materials are completely dry before rebuilding.
- Fix the original source of water damage, including plumbing leaks, roof problems, clogged gutters, and poor exterior drainage.
- Control indoor humidity, improve bathroom and kitchen ventilation, and monitor moisture levels throughout the year.
- Choose appropriate moisture-resistant materials during repairs, but remember that proper waterproofing and installation are still essential.
- Seek professional help for extensive water damage, contaminated water, widespread mold, or moisture trapped inside walls and floors.
1. Act Quickly When Water Damage Happens
Time matters when dealing with water damage. Mold can begin growing within 24 to 48 hours under the right conditions, especially when materials stay wet. The sooner you remove standing water and start drying the affected area, the better your chances of preventing a mold problem.
First, identify the source of the water. It could be a leaking pipe, an overflowing appliance, a damaged roof, or water entering through a window. If the water comes from a plumbing leak, shut off the supply if you can do so safely. If flooding has reached electrical outlets or appliances, stay away from the affected area and contact qualified professionals.
Not all water damage is the same. Water from a clean supply line may be easier to manage than water from a sewer backup or flood that contains harmful waste. Contaminated water requires special cleaning and protective equipment. For major flooding, extensive damage, or uncertain water sources, contact a qualified water damage restoration company.
2. Remove Standing Water and Wet Materials
Once the area is safe, remove standing water as soon as possible. Depending on the size of the spill, you may be able to use towels, a wet-dry vacuum designed for water removal, or a suitable pump. Never use household equipment in standing water if there is a risk of electric shock.
Next, remove items that are holding moisture. Move furniture, rugs, boxes, and other belongings away from wet floors and walls. Place salvageable items in a dry, well-ventilated area. Items that remain soaked for too long may need professional cleaning or disposal.
Pay close attention to porous materials such as carpet padding, wet insulation, and damaged drywall. These materials can hold water deep inside, even when the surface appears dry. Depending on how much water they absorbed and whether it was contaminated, removal may be necessary. Do not simply cover wet materials with new flooring or paint. Hidden moisture can lead to mold growth and further damage.
3. Dry the Affected Area Completely
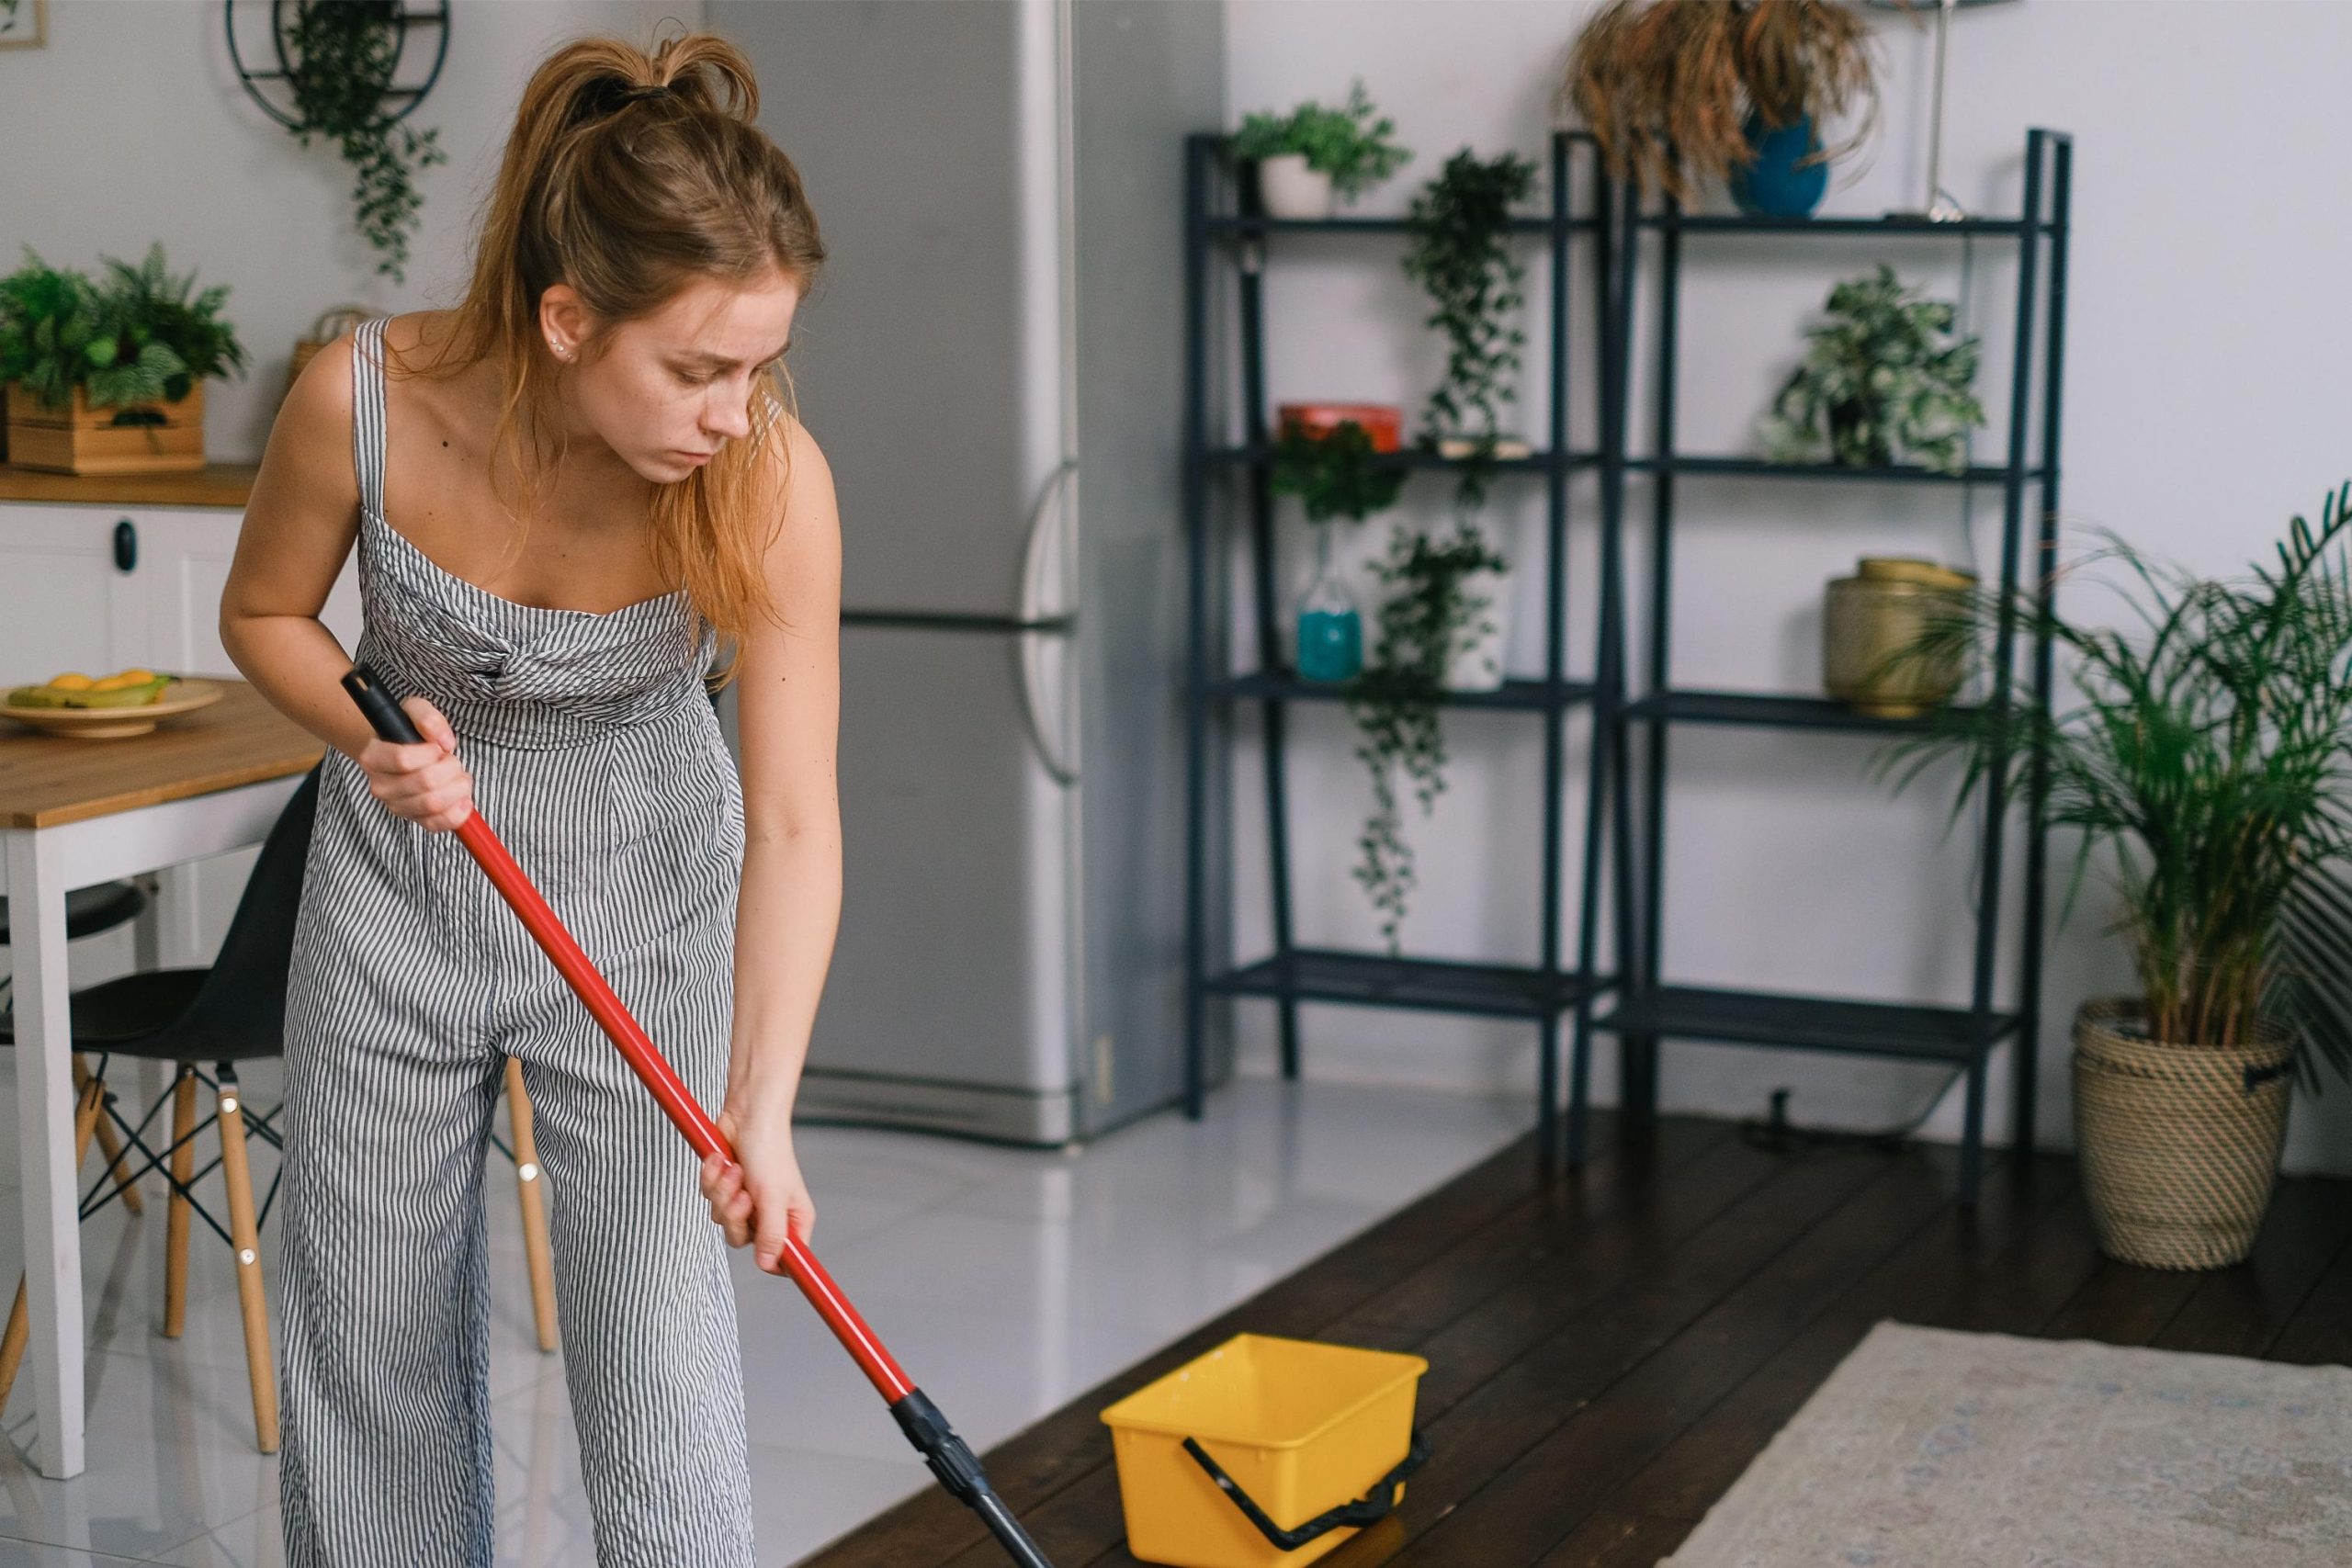
Removing visible water is only the first step. The affected area must also dry thoroughly to reduce the chance of mold returning. Open windows when outdoor conditions are dry and suitable, and use fans to improve air movement when doing so will not spread contamination.
A dehumidifier can help remove moisture from indoor air, especially in enclosed rooms, basements, and other damp spaces. Choose equipment suitable for the size of the affected area and follow its operating instructions. Empty the collection tank or use a proper drainage setup as directed.
Do not rely on touch alone to decide whether materials are dry. Drywall, wood framing, and flooring can retain moisture inside. Moisture meters and other measuring tools can help restoration professionals check affected materials. If water entered wall cavities, under flooring, or behind cabinets, professional drying may be needed to reach those hidden spaces. Allowing the area to dry completely before rebuilding is one of the most important steps in mold prevention.
4. Check for Hidden Moisture Behind Walls and Floors
Water does not always stay where you can see it. A small leak from a bathroom, kitchen sink, or roof can spread behind walls and beneath floors. Even after the visible surface dries, trapped moisture may remain in insulation, wooden framing, or the subfloor.
Look for warning signs such as bubbling paint, peeling wallpaper, warped flooring, swollen baseboards, musty smells, and discoloration. These signs do not always prove that mold is present, but they suggest that moisture needs further investigation.
If you suspect hidden water damage, avoid sealing the area with new paint or installing new flooring over it. A restoration professional can use moisture meters and other inspection tools to identify damp areas. In some cases, a section of drywall or flooring must be removed to allow the structure to dry properly. Although opening a wall can add to the repair cost, addressing the problem early may prevent more expensive damage later.
5. Clean Mold Safely and Know When to Get Help
If mold has already appeared, the right response depends on how much is present, where it is growing, and what caused the moisture. A small area of mold on a hard, washable surface may be manageable with suitable cleaning methods, provided the water source has been fixed and the area can be dried completely.
Wear suitable protective equipment, including gloves and eye protection, and avoid disturbing mold in ways that send spores into the air. Never mix cleaning products, especially bleach and ammonia, because they can produce dangerous gases. Follow the product label and keep the area ventilated when it is safe to do so.
Mold growing on porous materials such as drywall, insulation, or carpet padding may be difficult to remove completely. Those materials may need to be discarded and replaced. Consider professional help if the affected area is extensive, mold keeps returning, water was contaminated, or the damage involves heating and cooling systems. People with asthma, allergies, weakened immune systems, or other health concerns should avoid handling mold cleanup themselves and seek appropriate advice.
6. Fix the Original Water Problem Before Making Repairs
Cleaning up water and mold will not solve the problem if the source of moisture remains. A leaking pipe, damaged roof, faulty appliance connection, or blocked drainage system can cause the same damage again.
Inspect the area where the water first appeared and look for the source. Check supply lines under sinks, washing machine hoses, water heaters, and visible plumbing connections for drips or corrosion. Look for damaged roof shingles, loose flashing, cracked seals around windows, or gutters that overflow during rain.
Some repairs are simple, but others require specialized skills. Persistent plumbing leaks should be assessed by a plumber, while roof leaks may need a qualified roofing professional. If water enters through foundation cracks or poor exterior drainage, you may need a contractor who understands moisture control and drainage systems.
Make sure the repair is complete before replacing damaged finishes. Fixing the source first helps protect your investment and lowers the chance that mold will return.
7. Improve Bathroom and Kitchen Ventilation
Bathrooms and kitchens produce moisture every day through showers, cooking, dishwashing, and cleaning. Without proper ventilation, that moisture can settle on walls, ceilings, cabinets, and windows. Over time, damp surfaces can encourage mold growth.
Use an exhaust fan while showering and continue running it afterward according to the manufacturer’s instructions. In kitchens, run the range hood when cooking, especially when boiling water or producing steam. Fans that vent outdoors are generally more effective at removing moisture than systems that only recirculate indoor air.
Check that exhaust fans are clean and working properly. Dust buildup, blocked ducts, or damaged fan components can reduce airflow. If the room remains damp despite using the fan, the equipment may be undersized or the ductwork may need attention.
Also, make sure air can move freely around furniture and stored items. Avoid pushing large pieces of furniture tightly against damp exterior walls. Better airflow helps surfaces dry faster and makes it easier to control indoor moisture.
8. Control Indoor Humidity Throughout the Year
Even after water damage has been repaired, high indoor humidity can create conditions for future mold growth. Keeping moisture levels under control is especially important in basements, bathrooms, laundry rooms, and homes in humid climates.
A small digital hygrometer can help you monitor indoor relative humidity. The US Environmental Protection Agency generally recommends keeping indoor humidity below 60%, ideally between 30% and 50% when practical. These ranges are useful targets, although the best setting can depend on outdoor weather and the design of your home.
Use a dehumidifier in damp areas when needed, and make sure air conditioners and ventilation systems are maintained. Clean air conditioner filters according to the manufacturer’s instructions, and have drainage lines checked if water collects around the equipment. Avoid drying large amounts of laundry indoors without proper ventilation, as this can add moisture to the air.
If condensation frequently forms on windows or walls, investigate why it happens. The cause could be high humidity, poor insulation, cold surfaces, or inadequate ventilation. Correcting the underlying issue is more effective than repeatedly wiping away moisture.
9. Protect Roofs, Gutters, and Exterior Walls
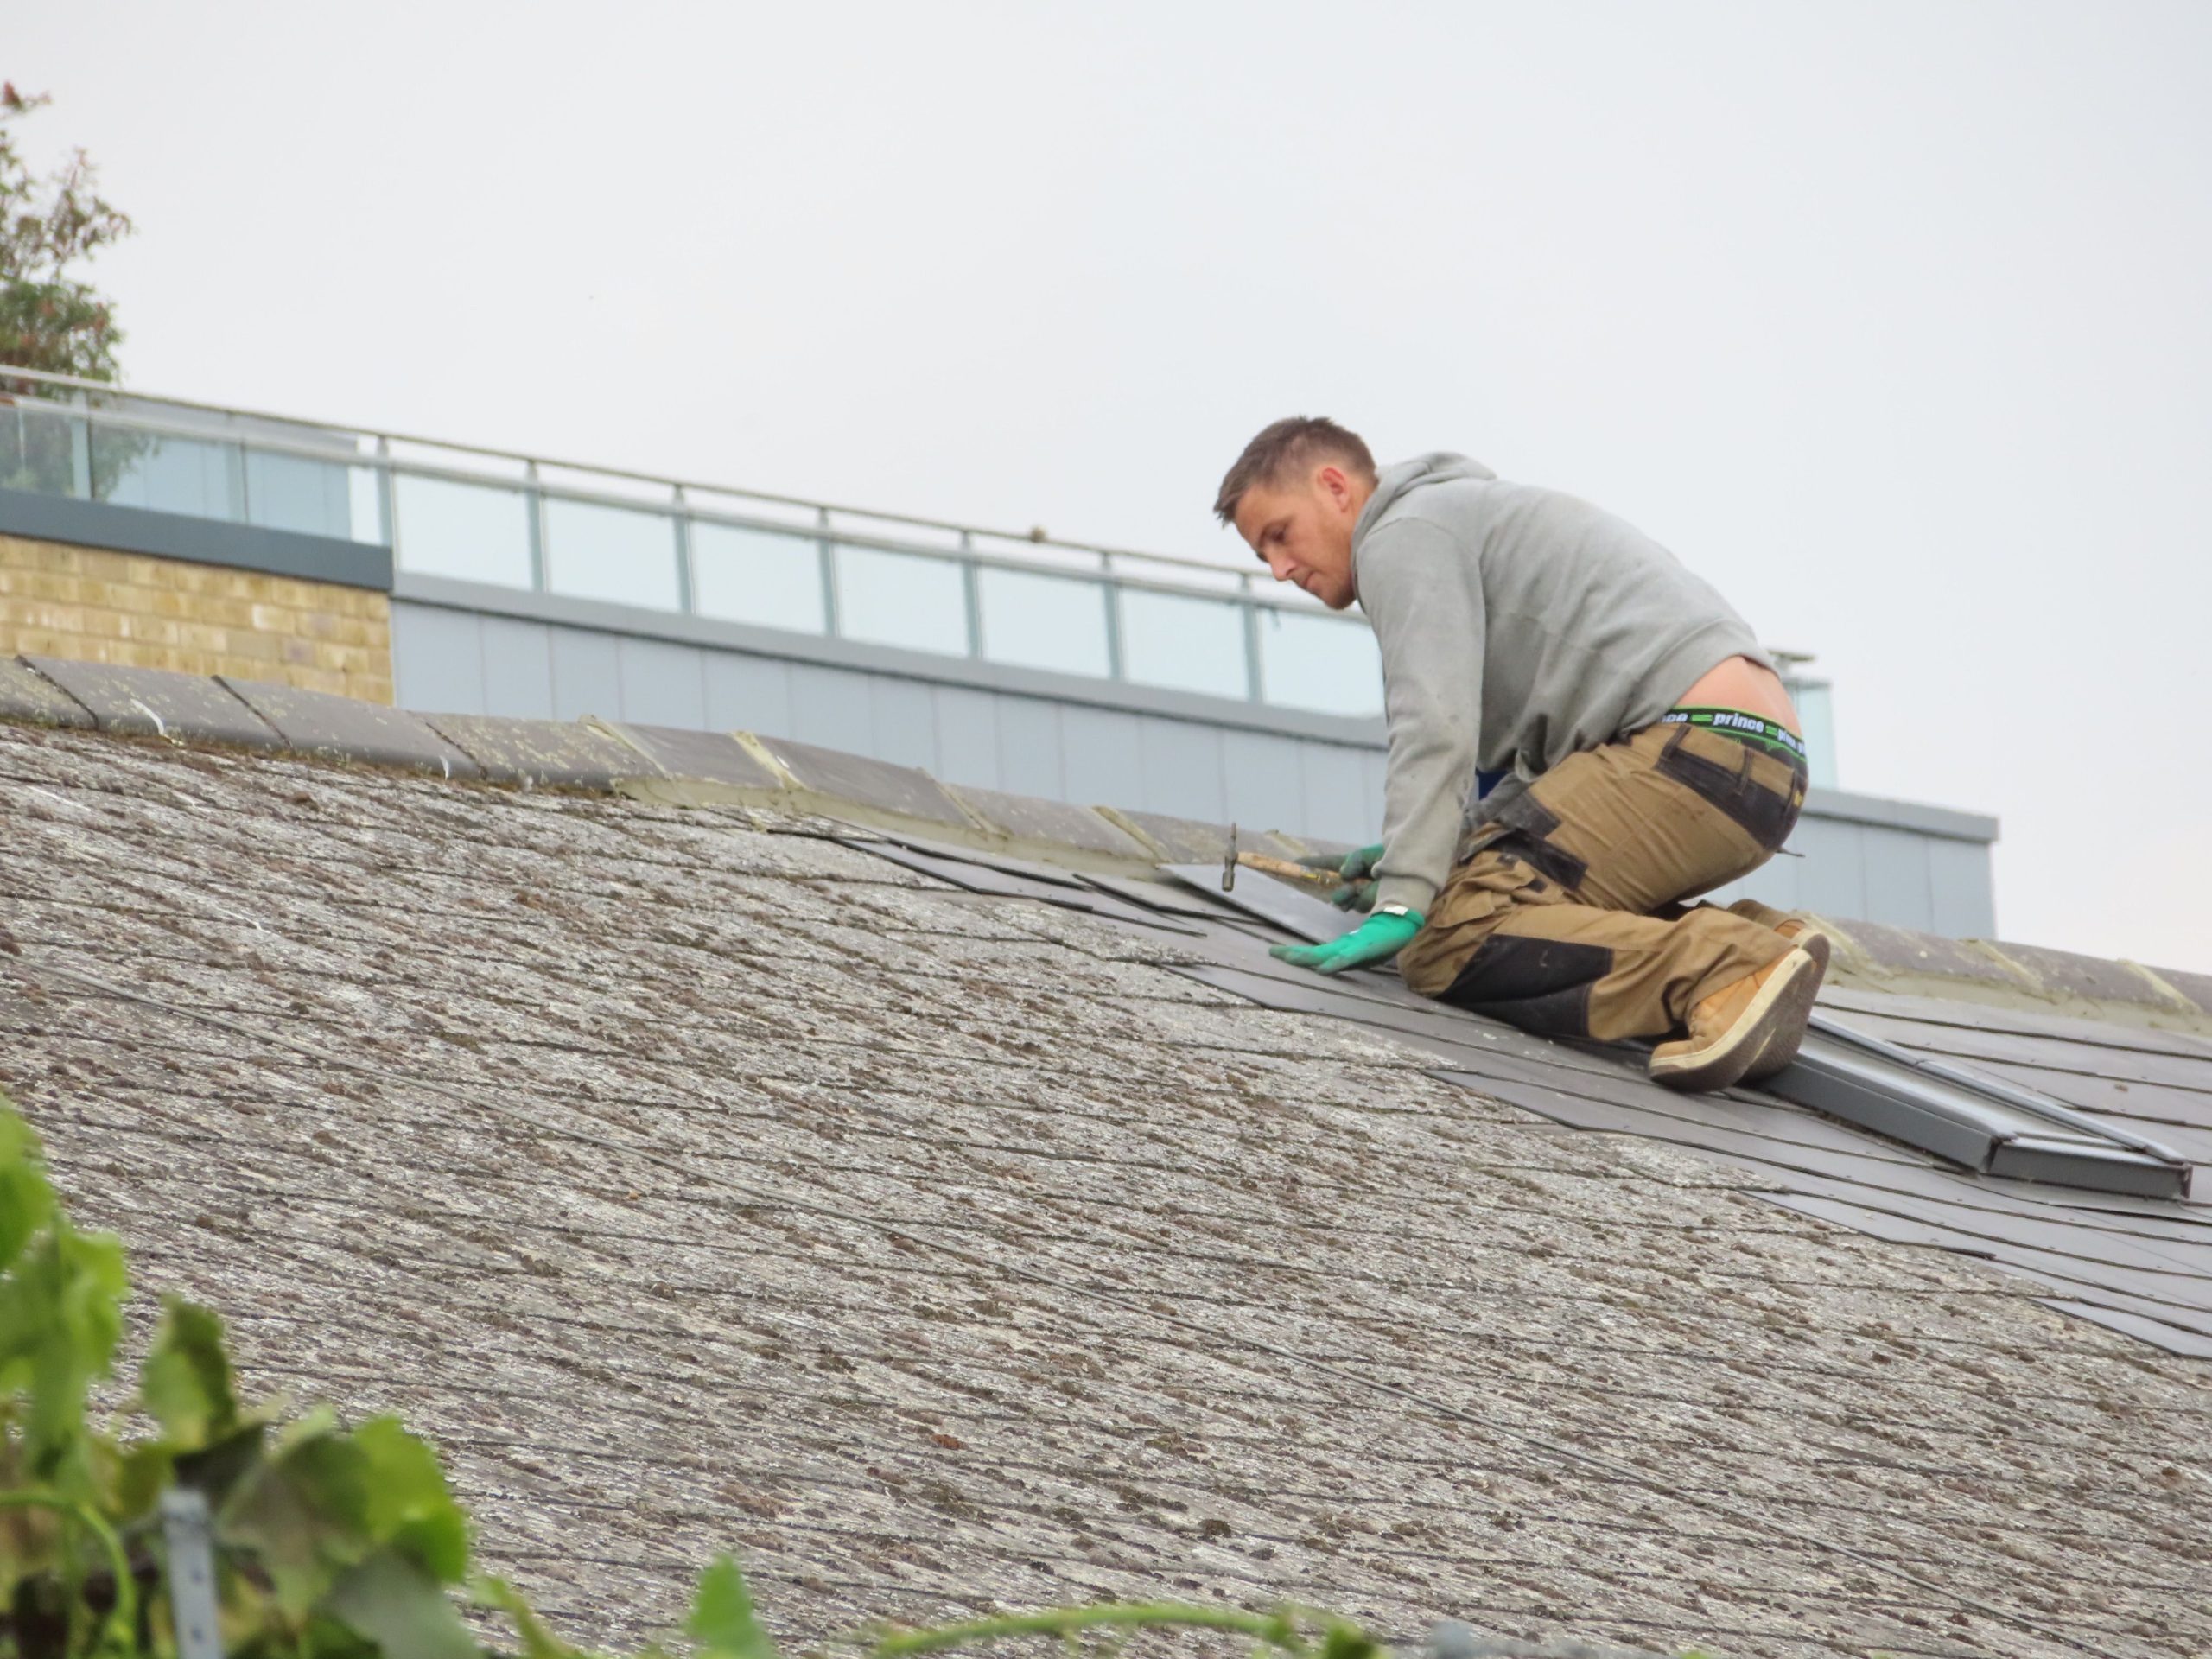
Moisture prevention starts outside the home, too. Rainwater that enters through a damaged roof, clogged gutter, or cracked exterior seal can soak building materials and create hidden mold problems.
Inspect your roof from the ground for missing shingles, damaged flashing, sagging areas, or visible debris. Clean gutters and downspouts so rainwater can flow away from the roof and foundation. Make sure downspout outlets direct water away from the house instead of allowing it to collect beside exterior walls.
Check window and door seals for gaps or cracked caulking. Replace damaged sealant with a product suitable for the location, and make sure the surrounding materials are dry before sealing them. If water repeatedly enters through the same spot, investigate the cause rather than applying more caulk over a larger problem.
Look at the ground around your home’s foundation after heavy rain. Soil should generally slope away from the building so water does not pool beside the walls. Persistent basement dampness, foundation seepage, or repeated roof leaks may require professional repairs. Regular exterior checks can catch small problems before they lead to costly interior damage.
10. Choose Moisture-Resistant Materials During Repairs
When rebuilding an area affected by water, choose materials that suit the room and its exposure to moisture. For example, certain moisture-resistant drywall products are designed for damp locations, while cement board is commonly used as a tile backing in appropriate wet-area systems. However, no single material replaces proper waterproofing or ventilation.
For bathroom floors and showers, use a complete system that includes suitable waterproofing, seams, transitions, and drainage details. Follow the manufacturer’s instructions and local building codes. Paint labeled for kitchens and bathrooms may resist moisture better than standard wall paint, but it cannot protect a wall that is still wet behind the surface.
For basements, consider flooring materials that tolerate the conditions in the space, and avoid installing moisture-sensitive finishes over a damp slab. Ask contractors how they will test for moisture before installing new materials. If you are planning home improvement project ideas after water damage, prioritize solutions that prevent water from entering and allow affected areas to dry properly.
The goal is not simply to choose materials that are less likely to be damaged by moisture. It is to build a system that keeps water out, manages humidity, and allows the home to dry when moisture does enter.
11. Create a Regular Home Moisture Inspection Routine
You do not have to wait for a leak or musty smell to check your home for moisture problems. A simple inspection routine can help you find small issues before they cause significant damage.
Once a month, check under sinks, around toilets, behind washing machines, and near water heaters for drips or dampness. Look at ceilings and walls for stains or bubbling paint. Pay attention to unusual odors, especially in closets, basements, and other spaces that receive little airflow.
After heavy rain, check the basement, windows, and areas below the roof for signs of water entry. Clean bathroom exhaust fans and range hood filters as recommended. Replace worn appliance hoses when needed, and consider installing leak sensors near appliances or plumbing fixtures in areas where leaks could go unnoticed.
Keep a record of repairs and recurring moisture problems. If the same area becomes damp repeatedly, the notes can help you or a contractor identify a pattern. Regular checks do not guarantee that every leak will be caught, but they make it easier to respond before damage spreads.
12. Know When Professional Restoration Is the Better Choice
Some water damage is too extensive or complex to handle safely without professional help. A restoration company may be needed when water has spread through several rooms, soaked wall cavities, damaged insulation, or affected large sections of flooring. Professional assistance is also important when the water may contain sewage or other contaminants.
Qualified specialists can assess moisture levels, set up appropriate drying equipment, remove damaged materials, and help determine when the area is ready for repairs. If mold is present, ask how the contractor will contain the work area and prevent contamination from spreading into other rooms.
Before hiring anyone, request a written estimate that explains the work, equipment, material removal, drying process, and repair costs. Check references, licensing where required, and insurance. Be cautious of anyone who promises that a quick spray or paint treatment will permanently solve a moisture problem without addressing its source.
For major damage, contact your home insurance provider promptly and document the affected areas with photos when it is safe to do so. Keep records of expenses and repairs, and follow your policy’s instructions for reporting damage and preventing further loss.
Conclusion
Preventing mold after water damage takes more than removing standing water or cleaning visible stains. You need to dry affected materials, find and repair the source of moisture, improve ventilation, and keep indoor humidity under control.
Regular inspections can help you catch leaks around plumbing, appliances, roofs, windows, and foundations before they cause widespread damage. When water has reached hidden spaces or contaminated materials, professional restoration may be the safest and most effective option.
No home can be made completely immune to water damage, but you can greatly reduce the risk of recurring mold by responding quickly and maintaining your home’s moisture-control systems. With careful repairs and consistent upkeep, you can protect your property and keep your living spaces drier and healthier over time.